Purpose
To add Users from your Salesforce Org to Amazon Connect as Agents.
Permissions
From Setup, Navigate to the Users Menu, and select the User you would like to add to your Amazon Connect instance.
Select the User you would like to add, and on their User Details page, scroll down to Permission Set Assignments. Click Edit Assignments.
Assign the appropriate permission sets to the user (these can vary by org).
Once the permission sets have been assigned, click Save.
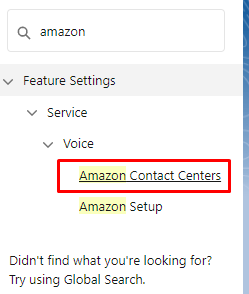
Next, using the Quick Find search in Setup, navigate to Amazon Contact Centers
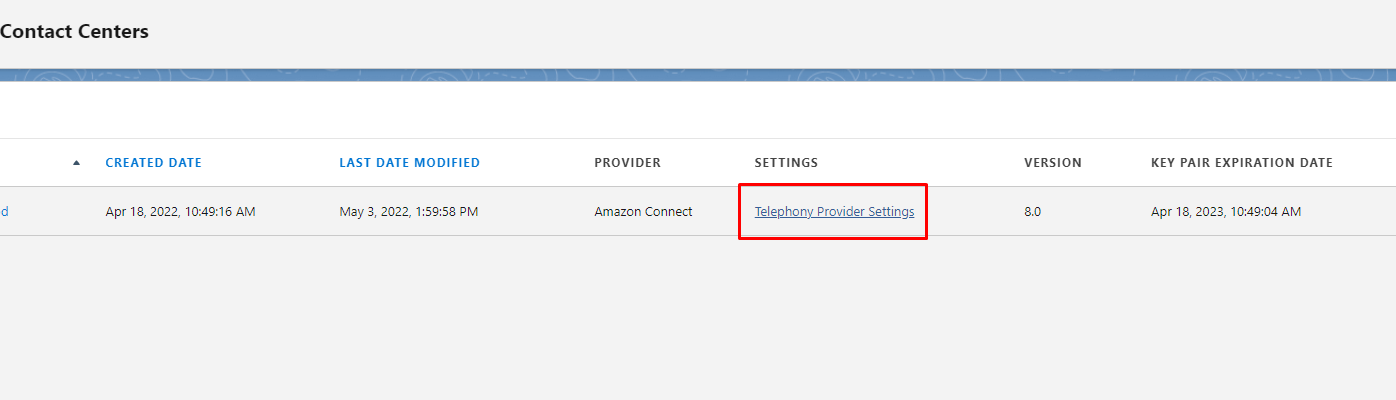
Under the Name column, select the Hyperlink of the Contact Center you would like to add the user to.
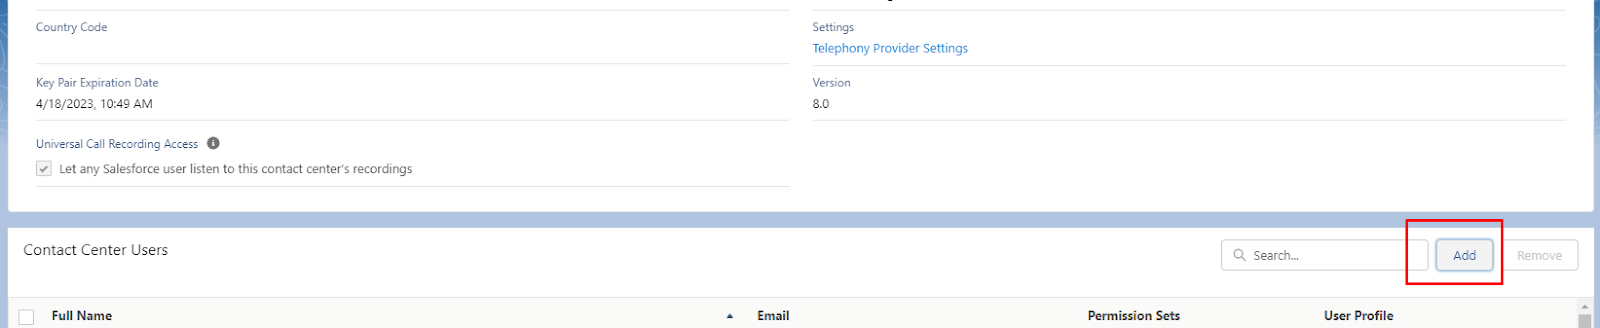
Scroll down to the Contact Center Users section, and click Add. Your user will be accessible in the “Select Users for Your Contact Center” popup menu now that they have the permission sets.
Select the User you would like to add, and click Done. After a minute or two, the user will be added to the call center (you will receive a verification email confirming this). If you refresh the page, you will see the user added to the list of users in your Contact Center.


Amazon Connect
Now that you’ve added the user to the Contact Center in Salesforce, you need to add them to the AWS Instance.
Using the Quick Find search in Setup, locate and navigate to “Amazon Contact Centers”
Under the Settings Column, click the Telephony Provider Settings hyperlink
If you get an error message at this point, it is because your salesforce profile doesn’t have the Contact Center Admin permission set, and has not yet been added to the Amazon Contact Center as a User. See previous steps.
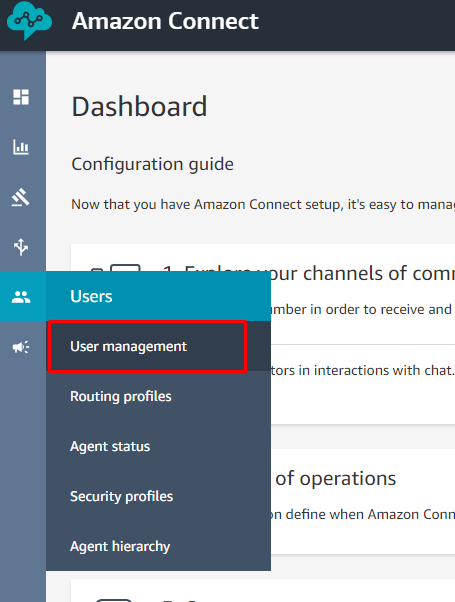
Once you’re able to access Amazon Connect, located the Users menu and select User Management
Your user should already be in the User Management list if you added them through Salesforce\
Click on the hyperlink in the Login column for the user to edit their user information.
On the Edit screen, assign the Security Profile of the User, the Routing Profile, and the After Call Work timeout. Once you are finished, click Save in the top right.


Add Agents to Quick Connect
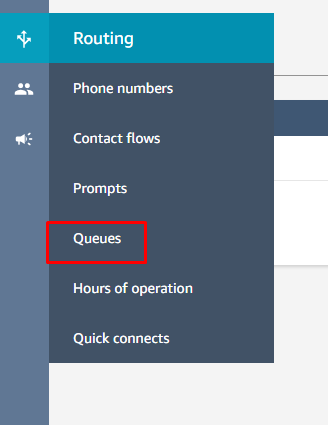
From Amazon Connect, go to the Routing Menu, and select Quick Connects.
Click Add New in the upper right corner
Type in the Name you would like to appear in the Quick Connect menu.
In the second column, change the value to “Agent”
In the third column, search for the Agent that you added to your Contact Center in a Previous Step
In the fourth column, select the Contact Flow to be used when calls are transferred.
Once you are finished, click Save.
Next, to add this Agent to the Incoming Call Queue, navigate to the Routing Menu and select Queues
Select the incoming call queue you would like to add your agent to by selecting the hyperlink. Ensure that the Status is set to “Active”
Scroll down to the Quick Connects menu, and add the Agent to the Quick Connect list by clicking list, and checking the box next to your agent’s name.