
Purpose
View real-time metrics about agent activities, queue wait times, or view and create reports on historical data about agents and queues.
Definitions
- When viewing Real Time or Historical Metrics in Amazon Connect’s Telephony Provider Settings, many of the contact states are not customizable.
Permissions
To access Amazon Connect’s Real Time and Historical Metrics, you must have the CallCenterManager, or QualityAnalyst security profile assigned to your user in the Telephony Provider Settings’ User Management. These are default Amazon Connect profiles, and custom profiles may also be used to access historical metrics depending on the configuration of your Contact Center.
Considerations
- Amazon Connect's historical metrics are not customizable by the Provisio team, and may not accurately reflect the number of Voice Call records created in Salesforce. This is because Salesforce creates backup Voice Call records for certain calls. If the goal is accurate reporting we recommend using Salesforce. Using Amazon Historical and Real-Time metrics is an effective debugging tool.
View Real-Time Metrics
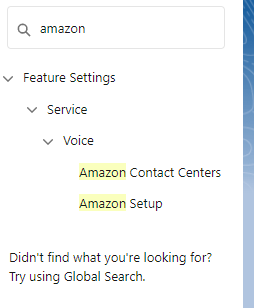
From Salesforce, go to Setup, and search for Amazon Contact Centers in the Quick Find box.
Select the Telephony Provider Settings hyperlink
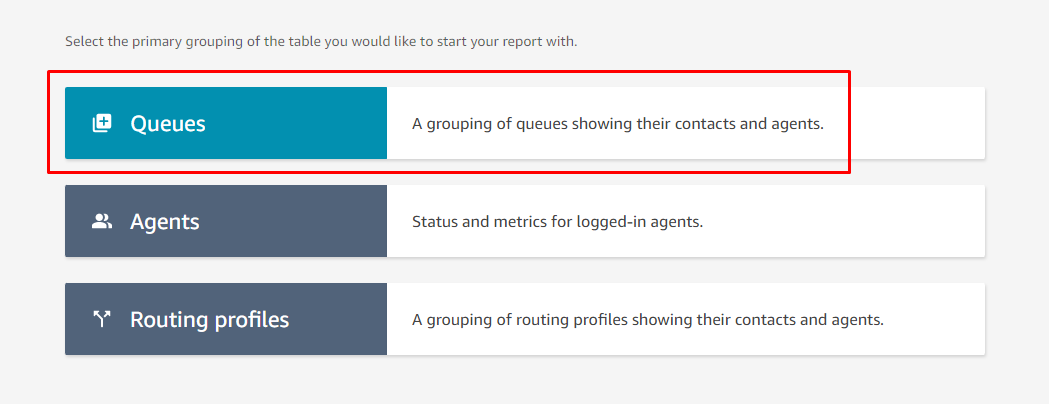
From the Amazon Connect Dashboard, select the Analytics Tab from the menu on the left, and navigate to Real-Time Metrics
Select Queues
Review the Real Time metrics for your Queues
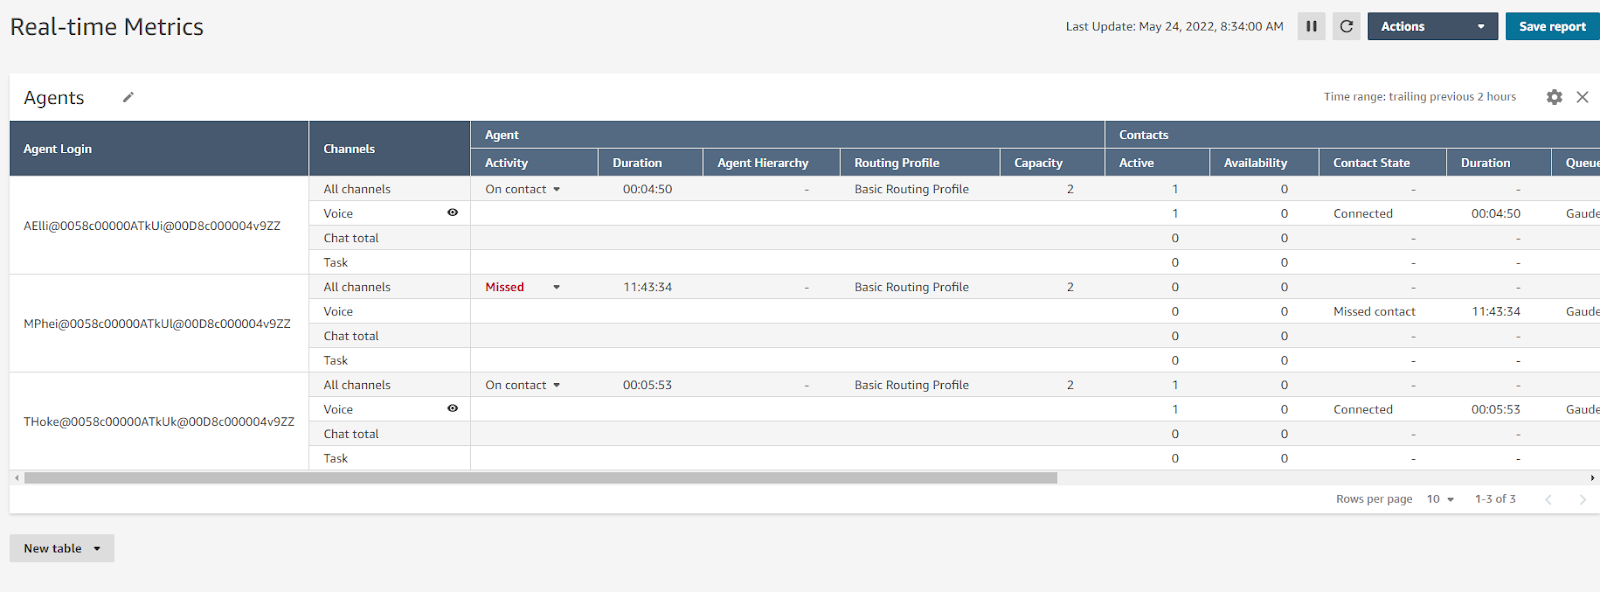
From the Real-Time Metrics menu, instead of Queues, you can select Agents.
Review the Real Time metrics of your Agents. Note that the time range will trail for however long you have configured, so you may see Agents that are inactive even though they recently signed off (screenshot shows a trail of 2 hours).


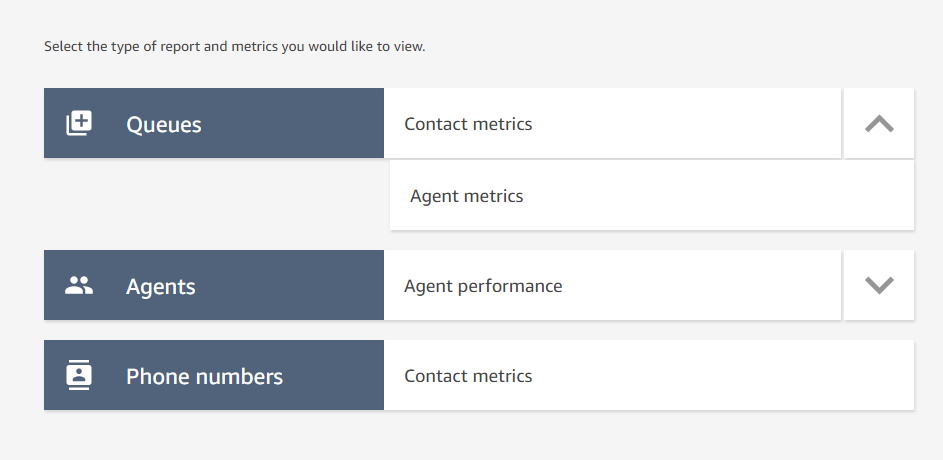
From the Amazon Connect Dashboard, select the Analytics tab from the menu on the left, and select Historical Metrics
From this screen, you have five options of historical metrics to report from
Queues
Contact Metrics
Agent Metrics
Agents
Agent Performance
Agent Activity Audit
Phone Numbers - Contact Metrics
From the Queues (Contact Metrics) screen, you can change the time of the data by selecting the gear icon in the top right. These instructions will apply to all of the historical metrics options.
From the Table Settings, make the following changes:
Change the Time Zone from UTC to your time zone.
Select an Interval (these intervals will appear as rows on a spreadsheet).
Select a custom Time Range, to isolate the time frame you would like to report on.
Once you are satisfied with your report, you can export it using the dropdown menu next to Save in the upper right corner by selecting Download CSV


Additional Sources