
Community/Experience Cloud User Setup
To create an experience cloud user, follow these instructions.
1. Create a new Contact record or navigate to the existing Contact record for the person you would like to add to the community.
2. Click the Enable Customer User or Enable Partner User button. The button that you will see depends on the type of licenses you have purchased.
3. On the New User page some information will be already populated from the information on the Contact. Complete any remaining required fields and set the appropriate user license and profile.

4. If you haven’t activated your site yet, deselect ‘Generate new password and notify user immediately’ so that users don’t receive a password before activation. If your site is already active, leave this option checked so that they receive their sign in information.
5. Click Save.
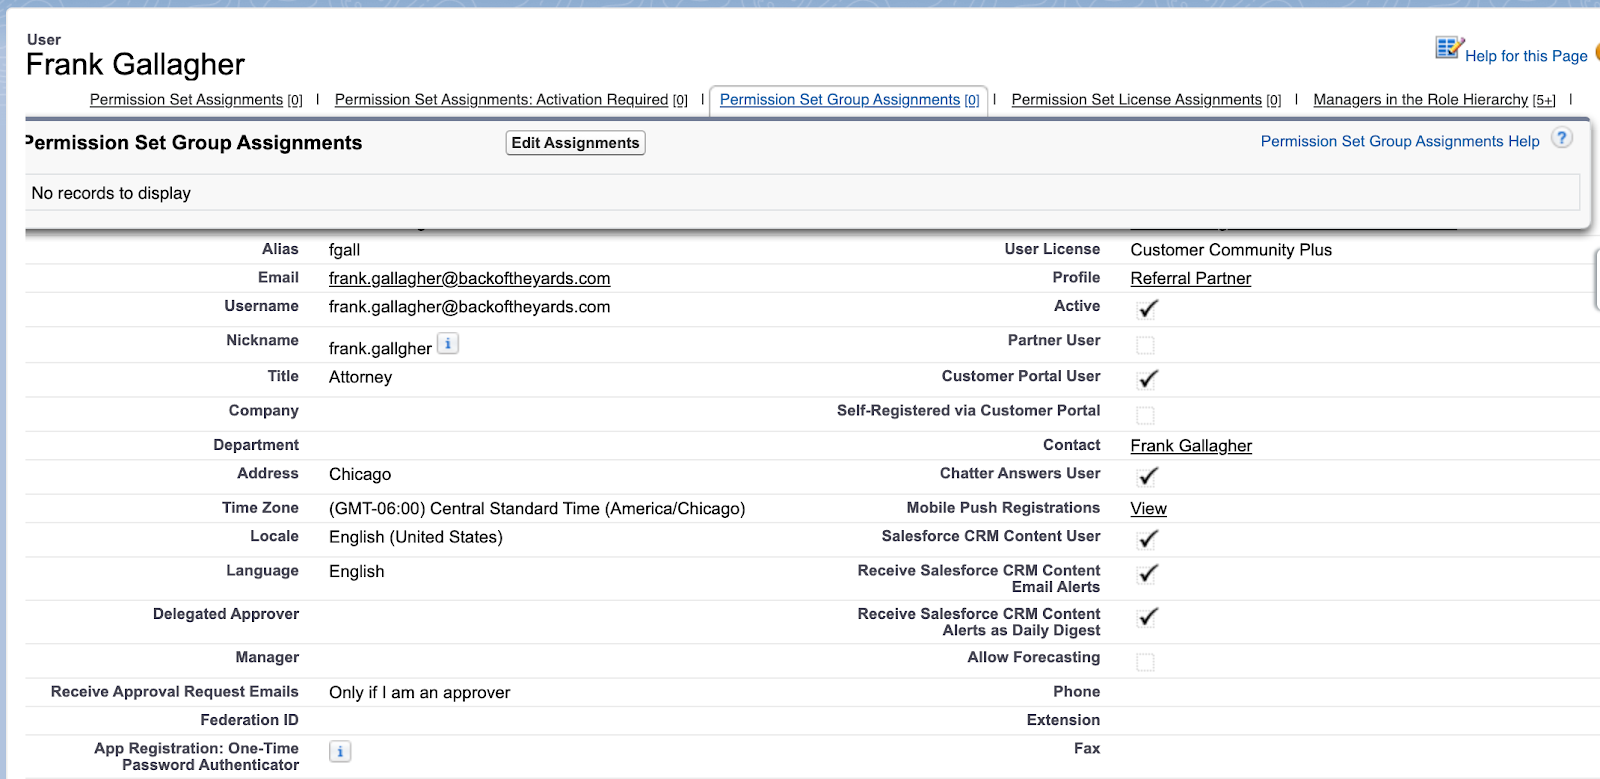
The following steps may also be necessary depending on your org set up:
Click ‘Edit Assignments’ for Permission Set Group Assignments.
Choose the appropriate Permission Set Group(s) and add it to the user.
Click ‘Save’.
4. Search for ‘Public Groups’ in the Setup menu. 
5. Click on the appropriate Public Group.
6. Click the Edit button.
7. Change the drop-down to Customer Portal Users.
8. Search for the user, add them, and click the Save button.
